Now Reading: How to Make a DIY Wilderness Stove
-
01
How to Make a DIY Wilderness Stove

How to Make a DIY Wilderness Stove
When you find yourself surrounded by the untouched beauty of the wilderness, there’s nothing quite like a steaming cup of morning coffee or a warm meal to satiate your adventurous spirit. But what do you do when there’s no grill or stove in sight? Don’t fret, for in this article, we will delve into the craft of creating your very own DIY wilderness stove. With a few simple materials and a pinch of creativity, you’ll be able to cook up a storm and bask in the great outdoors without sacrificing on culinary delight. From lightweight backpacking stoves to ingenious wood-burning contraptions, get ready to ignite your ingenuity and elevate your camping experience to new heights.
Table of Contents
- Planning and Gathering Materials
- Choosing the Right Design
- Step-by-Step Construction Guide
- Essential Safety Precautions
- Tips for Efficient and Environmentally Friendly Usage
- Q&A
- The Conclusion

Planning and Gathering Materials
Before diving into your project, it’s important to take the time to plan and gather all the necessary materials. Planning allows you to envision the end result and break down the steps required to achieve it, while gathering the materials ensures you have everything you need at hand.
- Define Your Goal: Start by clarifying your goal and determining what you want to achieve through your project. This will help you stay focused and organized throughout the process.
- Create a Timeline: Once you have a clear goal in mind, create a timeline that outlines the different stages of your project. This will help you set realistic deadlines and allocate your time effectively.
- Make a Checklist: Next, create a detailed checklist of all the materials you’ll need. This can include items such as tools, equipment, supplies, and specific ingredients. Refer to your project plan to ensure you don’t miss anything.
- Research and Gather: Take the time to research where you can find each item on your checklist. This might involve visiting local stores, ordering online, or seeking out specialized suppliers. Don’t forget to consider any special instructions or measurements that may be required.
By planning ahead and gathering all the materials you need, you’ll set yourself up for success and make the execution of your project a smooth and enjoyable experience.

Choosing the Right Design
Design is a crucial aspect that can make or break a website, so is essential for creating a visually appealing and user-friendly site. When considering the design, there are a few factors to keep in mind that can help you make the best decision for your website:
- Target audience: Understanding your target audience is key when it comes to design. Consider their preferences, interests, and demographics to create a design that resonates with them. A design that appeals to teenagers might not be suitable for an older demographic.
- Functionality: A visually stunning design is important, but it should also be functional. Ensure that the design is user-friendly and easy to navigate. A cluttered or confusing layout may frustrate visitors and discourage them from staying on your site.
- Branding: The design should reflect your brand’s identity and values. Use colors, fonts, and imagery that align with your brand to create a cohesive and recognizable look. Consistency in design helps in building brand recognition.
Ultimately, is a balancing act between aesthetics and usability. By taking into account your target audience, functionality, and branding, you can create a design that not only looks great but also enhances the overall user experience.

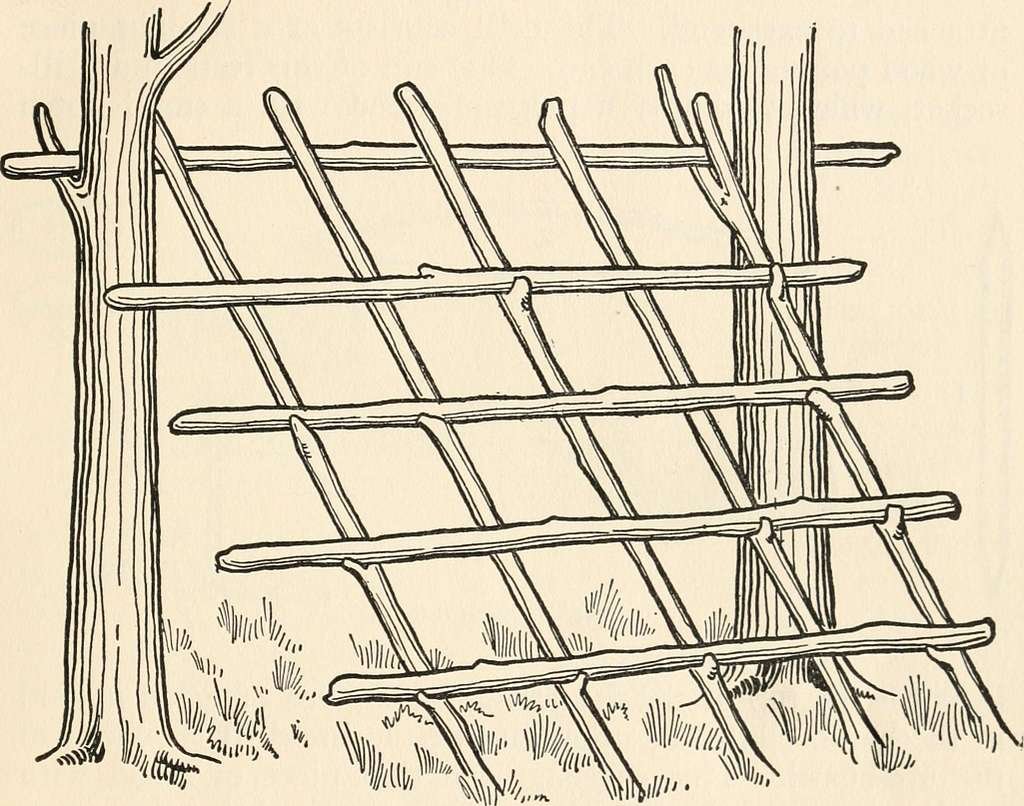
Step-by-Step Construction Guide
Building something from scratch can be an exciting yet challenging endeavor. With this , we aim to simplify the process and provide you with a clear roadmap to success. Whether you’re a seasoned builder or a first-time DIY enthusiast, these carefully curated steps will help you bring your project to life.
Gather your supplies
The initial phase of any construction project involves gathering the necessary supplies and materials. Make a thorough list, including everything from tools to raw materials, and ensure they are easily accessible during the construction process. Remember, having the right supplies at hand will save you time and frustration in the long run.
Create a detailed blueprint
Before swinging your hammer, it’s crucial to have a well-thought-out blueprint in place. This detailed plan will serve as your construction roadmap, ensuring that nothing is overlooked. Considerations such as measurements, structural elements, and design aspects should all be included in your blueprint for a smooth and efficient building process.
Start with the foundation
Just like a strong foundation is essential for a sturdy building, starting with the foundation is vital in any construction project. Begin by preparing the ground, ensuring it is level and properly compacted. Then, carefully lay out the foundation, making sure it aligns with your blueprint. This solid base will set the stage for the rest of your construction work.

Essential Safety Precautions
When it comes to safety, it’s better to be overprepared than to face any unwanted mishaps. By taking a few simple precautions, you can ensure a safer environment for yourself and those around you. Here are some essential safety measures to keep in mind:
- Stay informed: Keep track of the latest safety guidelines and regulations in your area. Regularly check reliable sources to stay up-to-date with important information that may affect your safety.
- Use protective equipment: Whether it’s in the workplace or during recreational activities, wearing the appropriate protective gear is crucial. Safety helmets, gloves, goggles, and masks can significantly minimize the risk of accidents and injuries.
- Practice fire safety: Fire hazards can be a serious threat, so make sure you have fire extinguishers readily available at strategic points within your living or working spaces. Additionally, ensure that smoke detectors, fire alarms, and sprinkler systems are properly installed and regularly maintained.
- Secure your surroundings: Safety starts at home! Implement proper security measures by locking doors and windows, installing motion-sensor lights, and setting up a reliable alarm system. These precautions help deter intruders and protect your property.
- Stay cautious on the road: Whether you’re driving, cycling, or walking, road safety should never be neglected. Always follow traffic rules, wear your seatbelt, use designated pedestrian crossings, and never drive under the influence.
By following these , you can minimize risks, foster a secure environment, and avoid potential incidents. Remember, safety should never be taken for granted!
Tips for Efficient and Environmentally Friendly Usage
When it comes to using resources efficiently and being kind to the environment, small changes in our daily routines can make a big difference. Here are some creative tips to help you make your usage more efficient and eco-friendly:
- Reduce, Reuse, Recycle: Embrace the three R’s in your daily life. Cut down on single-use items, find creative ways to reuse items before discarding them, and make sure to separate your recyclables properly.
- Save Energy: Optimize your energy usage by switching off lights and appliances when not in use. Unplug chargers and electronics when they are fully charged. Consider investing in energy-efficient appliances that consume less power.
- Go Digital: Embrace technology and reduce your consumption of paper and other physical resources. Opt for digital documents, e-books, and online subscriptions whenever possible, reducing waste and saving trees.
- Conserve Water: Be mindful of your water use. Fix leaky faucets promptly, take shorter showers, and collect rainwater to water your plants. Small actions like these can help conserve this precious resource.
- Choose Sustainable Products: Support companies that prioritize sustainability. Look for eco-friendly certifications, choose products with minimal packaging, and opt for durable items that can last longer before needing to be replaced.
- Cut Down on Transportation Emissions: Whenever feasible, choose greener modes of transportation like walking, cycling, or carpooling. If you need to use a car, consider using electric or hybrid vehicles to reduce carbon emissions.
Remember, by implementing these simple tips, we can all contribute to a more efficient and environmentally friendly future. Let’s make the world a better place, one step at a time!
Q&A
Q: What materials do I need to make a DIY wilderness stove?
A: To make a DIY wilderness stove, you will need an empty aluminum can, a utility knife, a marker, a nail or a thumbtack, and some small gravel or sand.
Q: How do I prepare the aluminum can?
A: Start by cleaning and drying the aluminum can thoroughly. Then use the marker to draw a line about two inches from the bottom of the can. Carefully puncture holes along the line using the nail or thumbtack.
Q: What is the purpose of the holes in the aluminum can?
A: The holes in the aluminum can allow the air to flow into the stove, ensuring proper combustion and allowing the flames to stay lit.
Q: How do I create the stove’s burning chamber?
A: Use the utility knife to cut around the aluminum can just above the line of holes, effectively removing the top portion. This creates the burning chamber where you will place the fuel.
Q: What fuel can I use for the DIY wilderness stove?
A: Small sticks, twigs, or leaves can serve as fuel for the wilderness stove. They should be dry and easily ignitable to ensure a successful fire. Make sure to gather fuel responsibly, respecting the environment.
Q: How do I light the DIY wilderness stove?
A: Place the fuel inside the burning chamber of the stove and ignite it using a match or a lighter. The flames should catch onto the fuel, creating a steady fire. Exercise caution and ensure the fire is safely contained.
Q: Can I cook on the DIY wilderness stove?
A: Absolutely! Once the flames are steady, you can place a small cookware or pot on top of the stove’s opening to cook food or boil water. Remember to use heat-resistant materials and never leave the stove unattended.
Q: Is the DIY wilderness stove safe to use?
A: While the DIY wilderness stove can be used safely, it is important to exercise caution and follow outdoor safety guidelines. Always ensure the stove is placed on a stable surface, away from flammable materials, and never leave it unattended. Prioritize safety above all.
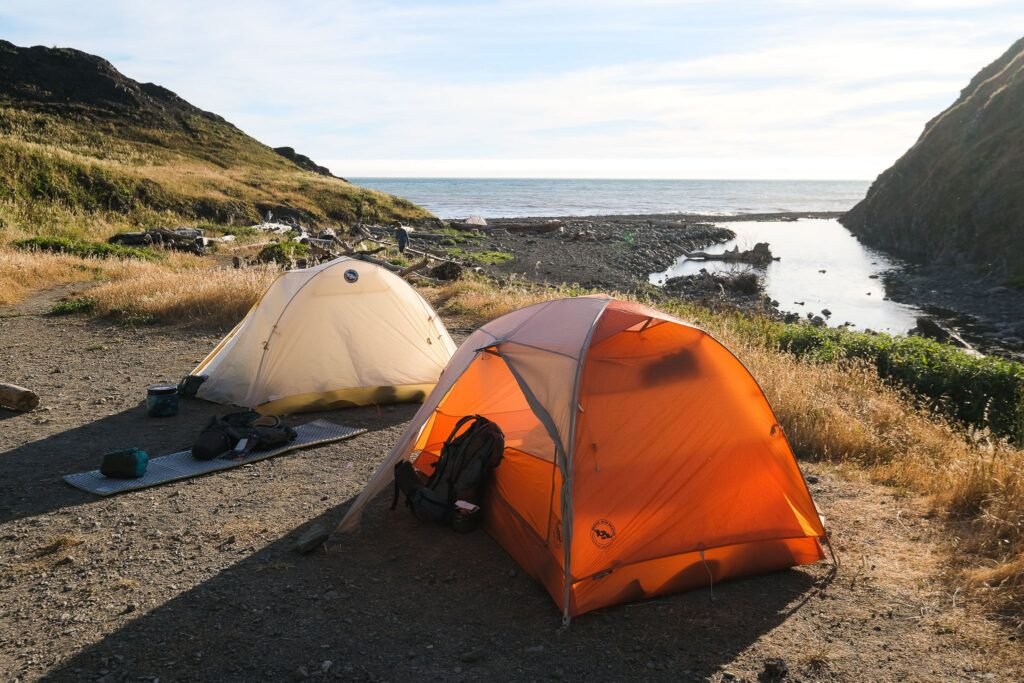
Q: Can I bring the DIY wilderness stove on camping trips?
A: Absolutely! The DIY wilderness stove is lightweight, portable, and a great addition to any camping trip. Just make sure to check local regulations and fire safety rules before using it in different areas.
The Conclusion
As we wrap up our exploration into the world of wilderness survival skills, we hope you have found our guide to DIY wilderness stoves both educational and inspiring. Remember, venturing out into the wild requires careful preparation and an understanding of basic survival techniques. While we’ve uncovered the secrets of crafting a makeshift stove from readily available materials, always prioritize safety and follow any regulations set by your local wilderness authorities.
Building your own wilderness stove allows you to connect with nature on a more profound level, relying on your resourcefulness and ingenuity. This DIY project not only provides warmth and nourishment but also fosters a deep appreciation for the natural world and all it has to offer.
However, it is crucial to remember that fire, even in controlled settings, can be dangerous. Always exercise caution and ensure proper ventilation. Before embarking on any wilderness adventure, familiarize yourself with local fire regulations and guidelines. Be respectful of nature and ensure that you leave no trace behind.
So, as you embark on your next expedition into the untamed wilderness, armed with your newfound stove-making skills, take a moment to relish the serenity of your surroundings. Allow the crackling flames to warm not only your body but also your spirit. Embrace the untamed beauty that unfolds before you and forge your own path, equipped with the knowledge and confidence to conquer any challenge that nature presents.
Remember, the wilderness is a remarkable and formidable teacher. Let it guide you toward self-discovery, self-reliance, and an unbreakable bond with the natural world. Breathe in the crisp air, listen to the symphony of forest sounds, and immerse yourself in the unspoiled wonders of the wild. Whether you’re a seasoned adventurer or a curious novice, our DIY wilderness stove is just the beginning of an incredible journey that awaits you.
So kindle that flame, spark that passion for the wilderness, and let your DIY wilderness stove be a symbol of your determination to embrace adventure and savor the enchantment of the unknown. Happy exploring!
As an affiliate, my content may feature links to products I personally use and recommend. By taking action, like subscribing or making a purchase, you’ll be supporting my work and fueling my taco cravings at the same time. Win-win, right?
Want to read more? Check out our Affiliate Disclosure page.