Now Reading: How to Make a DIY Emergency Shelter
-
01
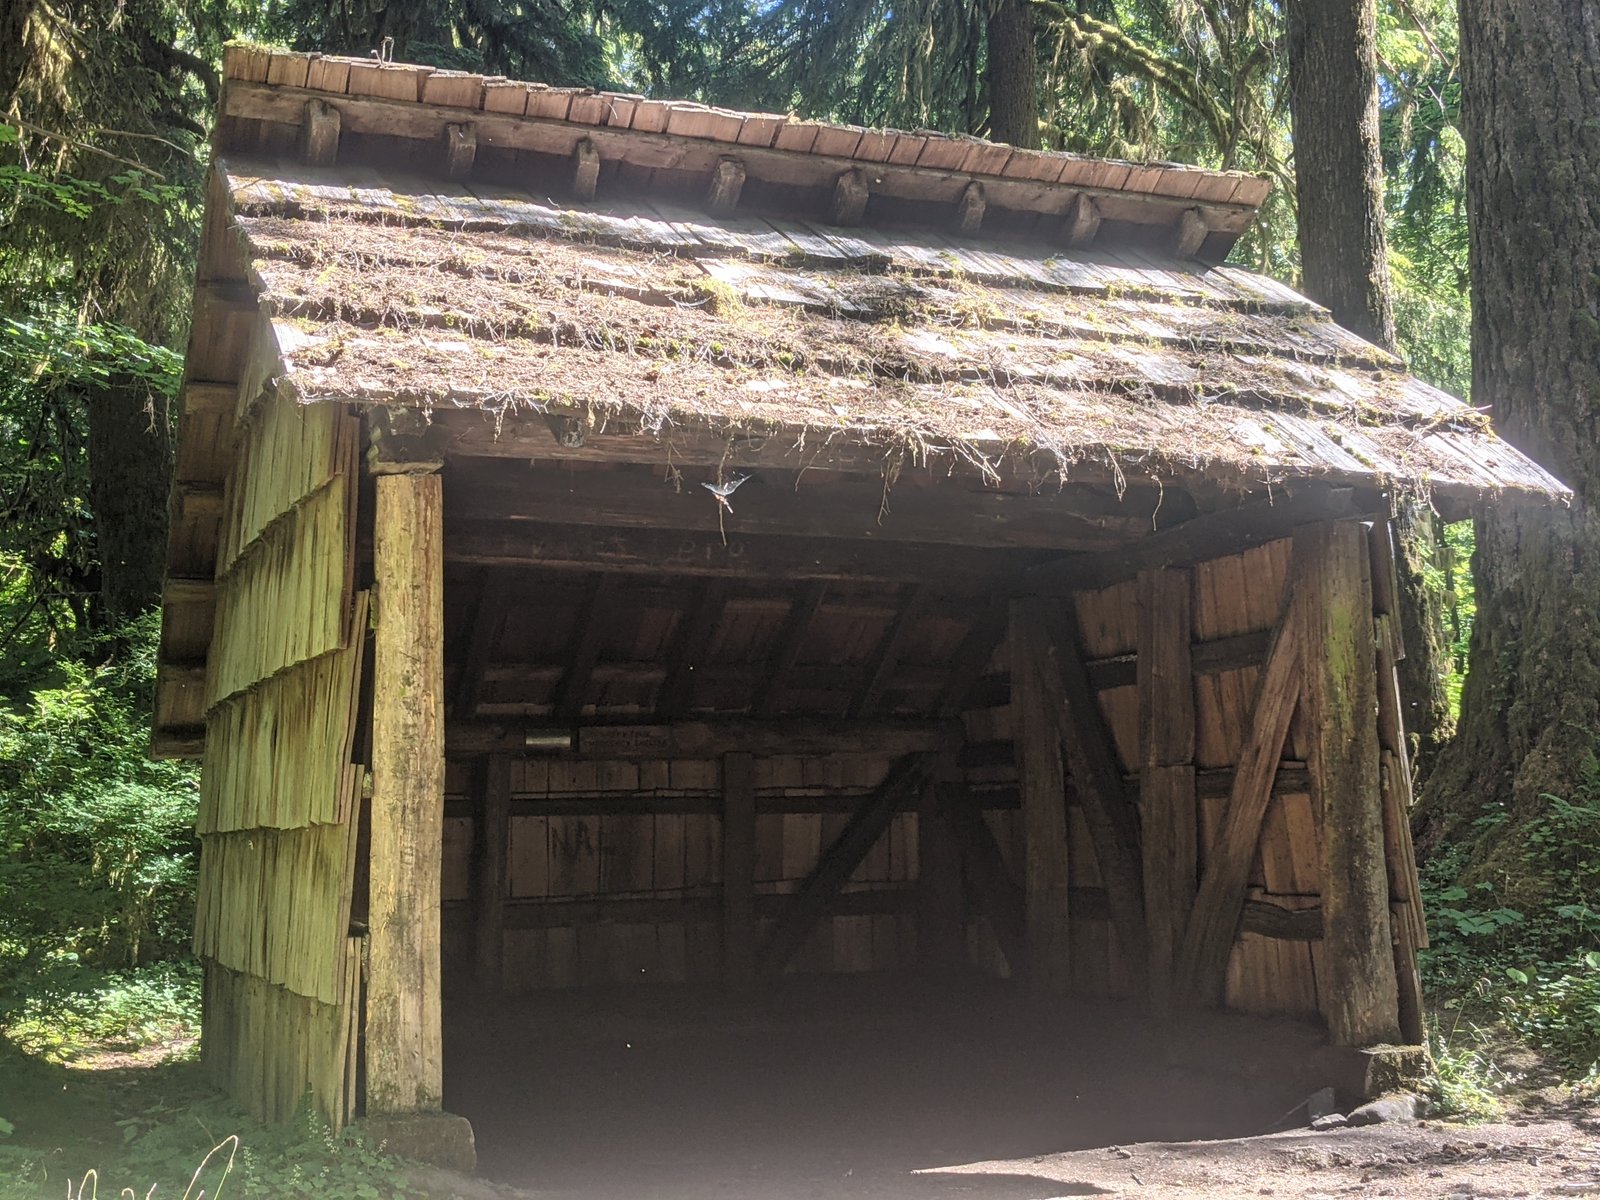
How to Make a DIY Emergency Shelter

How to Make a DIY Emergency Shelter
When life throws unexpected challenges our way, the ability to adapt and find innovative solutions becomes paramount. Picture yourself in a situation where only the bare essentials stand between you and survival amidst the wilderness. Knowing how to build a DIY emergency shelter can be the bridge between vulnerability and a safe haven. In this article, we will embark on an imaginative journey through the art of crafting your own sanctuary when landscapes become your home and skies transform into roofs. So, sharpen your creativity, gather your resources, and let’s delve into the realm of constructing a makeshift refuge that embraces both functionality and ingenuity.
Table of Contents
- Building an Emergency Shelter: A Step-by-Step Guide
- Selecting the Perfect Location for Your DIY Shelter
- Essential Materials and Tools for a Sturdy Shelter
- Constructing a Versatile Emergency Shelter Design
- Key Tips for Ensuring Safety and Comfort in Your DIY Shelter
- Q&A
- Concluding Remarks
Building an Emergency Shelter: A Step-by-Step Guide
Materials Needed:
- Tarp or heavy-duty plastic sheeting
- Wooden poles or sturdy branches
- Rope or cord
- Hammer or mallet
- Nails
- Saw
- Shovel
- Metal stakes
- Waterproof tape
- Scissors
- Gloves
Step 1: Choosing a Location
Before you start building your emergency shelter, find a suitable location that is safe and well-drained. Look for flat ground away from potential hazards such as trees, cliffs, or flood-prone areas. Ensure that the site provides natural protection from wind and rain, if possible. It’s important to also consider access to water sources and firewood.
Step 2: Constructing the Framework
Begin by constructing the framework of your shelter using wooden poles or sturdy branches. Use a saw or knife to trim them to the desired length. Position the poles vertically in the ground and secure them with rope or cord. For added stability, drive metal stakes into the ground at the base of each pole. This will form the basic structure of your shelter.
Selecting the Perfect Location for Your DIY Shelter
When it comes to building a DIY shelter, choosing the right location is crucial for its functionality and durability. Here are some key considerations to keep in mind when selecting the perfect spot:
1. Terrain:
Survey the land and opt for a flat or gently sloping area to avoid drainage issues and ensure stability.
2. Accessibility:
Consider how easily you can access the shelter. Ideally, it should be within a reasonable distance from your home or campsite, making it convenient to reach in case of emergencies.
3. Natural Protection:
Look for existing natural features that can act as additional protection for your shelter. Trees, rocks, or hills can provide shielding against strong winds and direct sunlight.
4. Water Source:
Ensure your chosen location is near a reliable water source such as a stream or well. This will provide you with a readily available supply and aid in survival scenarios.
5. Privacy:
If you value privacy, select a secluded spot away from main paths or populated areas. This will provide a sense of security and tranquility.
By carefully considering these factors, your DIY shelter will not only blend harmoniously with its surroundings but also provide you with a safe and functional space to retreat to in various scenarios.

Essential Materials and Tools for a Sturdy Shelter
Creating a sturdy shelter requires careful selection of materials and the right tools. Whether you’re building a temporary structure for camping or planning a long-term dwelling, here are some essential items you’ll need:
- Tarpaulin or Waterproof Fabric: A durable tarpaulin or waterproof fabric serves as a versatile covering to keep your shelter protected from rain, wind, and harsh weather conditions.
- Sturdy Poles or Metal Frames: These provide the framework for your shelter. Whether using poles, PVC pipes, or metal frames, ensure they can withstand pressure and provide stability.
- Heavy-Duty Rope or Cordage: Secure your shelter by tying down the corners and attaching the tarp or fabric to the framework. Opt for strong ropes or cordage to ensure everything stays in place, even during gusty winds.
- Hammer or Mallet: These tools come in handy for driving stakes into the ground, securing the base of the shelter, and keeping it firmly in place.
- Extra Stakes: It’s always wise to have extra stakes on hand in case some get lost or damaged. These can help reinforce the structure and prevent it from collapsing.
Remember, the success of your shelter depends on choosing quality materials and having the right tools readily available. By investing in these essential items, you’ll be well-prepared to create a sturdy and reliable shelter for any situation.

Constructing a Versatile Emergency Shelter Design
When it comes to designing emergency shelters, versatility is key. In times of crisis, the ability to adapt to different situations and environments can make all the difference. Here are some key considerations to keep in mind when :
- Flexibility: An ideal emergency shelter design should be able to accommodate various needs and requirements. Consider incorporating modular components that can be easily rearranged or expanded depending on the situation. This will allow for quick adjustments to accommodate different sizes of families or groups in need.
- Adaptability: Mother nature can be unpredictable, so it’s crucial to design shelters that can withstand a range of weather conditions. Utilize durable materials that can resist extreme temperatures, strong winds, and heavy precipitation. Additionally, integrating adjustable ventilation systems can ensure comfort no matter the climate.
- Efficiency: Emergency shelters often need to be set up rapidly in challenging circumstances. Implementing a design that can be assembled quickly and efficiently will enable a swift response to emergencies. Consider using lightweight, prefabricated components that can be easily transported and assembled without the need for specialized equipment.
Remember, a versatile emergency shelter design should prioritize the safety, comfort, and well-being of those seeking refuge. By incorporating flexibility, adaptability, and efficiency, we can create shelters that provide a sense of stability and hope in times of crisis.
Key Tips for Ensuring Safety and Comfort in Your DIY Shelter
Creating your own shelter can be an exciting adventure, whether you’re building a treehouse or a cozy cabin in the wilderness. However, safety and comfort should always be top priorities to ensure a successful DIY project. Here are some key tips to keep in mind during the construction process:
- Choose a suitable location: Before starting your shelter, carefully assess the area where you plan to build. Look for flat and stable ground that is free from potential hazards such as falling trees or flood-prone areas. This will help provide a solid foundation for your structure.
- Use quality materials: Investing in durable materials is crucial for the longevity and safety of your shelter. Research and select materials that are suitable for the local climate and purpose of your shelter. Consider using weather-resistant wood, sturdy metal brackets, and high-quality insulation for added comfort.
- Focus on structural integrity: Building a structurally sound shelter is essential to withstand various environmental factors. Ensure that your design includes reliable supports, reinforcements, and secure connections. Consider consulting with an engineer or experienced builder to evaluate the structural integrity of your design.
- Prioritize fire safety: When constructing your shelter, take fire safety precautions by incorporating fire-resistant materials and proper ventilation. Install smoke detectors and fire extinguishers in key areas to ensure early detection and quick response in case of an emergency.
- Enhance insulation and ventilation: To maintain a comfortable living environment, insulation and proper ventilation are key. Choose insulation materials that provide sufficient thermal efficiency and prevent moisture buildup. Incorporate windows, vents, or skylights strategically to ensure adequate airflow and natural light.
- Consider emergency exits: It is crucial to plan for emergencies by including multiple exits in your shelter design. Ensure these exits are easily accessible, well-marked, and free from obstructions. Regularly test and maintain emergency exit mechanisms to guarantee their functionality.
Remember, safety and comfort go hand in hand when building your DIY shelter. By following these key tips and taking the necessary precautions, you can create a safe and cozy space for your adventures in the great outdoors. Plus, the satisfaction of knowing you built it yourself makes it all the more rewarding!
Q&A
How can I make a DIY emergency shelter?
Creating a DIY emergency shelter requires minimal materials and effort. You can use a tarp, rope, and sturdy sticks to construct a simple A-frame shelter, providing protection from the elements in case of an emergency.
What if I don’t have a tarp or can’t find one?
If you don’t have a tarp, you can use materials like tree branches, leaves, or even trash bags to create a makeshift emergency shelter. It may not be as durable, but it can still offer temporary protection in an emergency situation.
How do I choose the right location for my emergency shelter?
When selecting a location for your DIY emergency shelter, make sure it is away from potential hazards like cliffs, fallen trees, or flood-prone areas. Look for a flat surface where water won’t accumulate, and consider the direction of wind to minimize exposure.
What type of knots are best for securing my shelter?
Several knots can be useful for securing your DIY emergency shelter, such as the clove hitch, taut-line hitch, or trucker’s hitch. These knots provide stability and allow for easy adjustments if needed.
What materials should I consider for insulation?
Adding insulation to your DIY emergency shelter is essential to stay warm. You can use natural materials like dry leaves, pine needles, or even newspaper to create a layer of insulation between you and the ground, providing additional warmth.
Should I include ventilation in my emergency shelter?
Ventilation is crucial in an emergency shelter to prevent condensation and maintain air quality. To achieve this, be sure to leave a small opening or create vents near the top of your shelter to allow stale air to escape and fresh air to circulate.
How can I make my emergency shelter more waterproof?
To improve the water resistance of your DIY emergency shelter, try applying a waterproofing agent to your tarp or alternative materials. You can also construct a raised bed using logs or rocks to keep your sleeping area off the ground and minimize moisture infiltration.
Are there any additional safety tips I should keep in mind?
When building your DIY emergency shelter, remember to choose a location visible to potential rescuers and gather any necessary supplies, such as a flashlight, first aid kit, and emergency whistle. It’s also important to inform someone about your whereabouts and emergency plans.
Concluding Remarks
In the midst of life’s uncertainties, our ability to adapt and overcome challenging circumstances becomes paramount. As we conclude this inventive journey on how to create your very own DIY emergency shelter, we hope you have been inspired to tap into your resourcefulness and embrace the power of ingenuity.
Remember, emergency situations can strike at any moment, leaving us vulnerable and unprepared. But armed with the knowledge gained from this article, you now possess the tools to fashion a safe haven when conventional comforts elude us.
While the allure of technological advancements may captivate our daily lives, it is through these humble acts of survival that we reconnect with our primal instincts. Building a sanctuary from scratch not only nourishes our inner spirit, but also awakens a profound appreciation for the simple marvels of existence.
So next time you find yourself amidst the chaos of an unforeseen crisis, take a deep breath and trust in your ability to weave resilience through your very fingertips. And just as nature has shown us time and again, even in the harshest of climates, life will always find a way to flourish.
As you embark on your own journey, bringing together bits of knowledge, materials, and a touch of imagination, remember that the greatest shelter we can build is the one we construct within ourselves. In the face of adversity, let us cultivate strength, compassion, and hope as our foundations, for they will carry us through any storm.
Stay curious, stay prepared, and remember that in the kingdom of survival, there is no limit to the wonders that can be achieved when we open our minds and channel our inner architects.
As an affiliate, my content may feature links to products I personally use and recommend. By taking action, like subscribing or making a purchase, you’ll be supporting my work and fueling my taco cravings at the same time. Win-win, right?
Want to read more? Check out our Affiliate Disclosure page.