Now Reading: How to Make Your Own DIY Splints
-
01
How to Make Your Own DIY Splints
How to Make Your Own DIY Splints
Broken bones and sprained limbs can be painful, but finding yourself in a predicament without a splint can be downright distressing. Whether you’re camping in the wilderness or simply miles away from the nearest medical facility, learning how to create your own DIY splints can be a lifesaving skill. With a little creativity and resourcefulness, you can fashion a makeshift splint using everyday items readily available in your surroundings. In this article, we will guide you through the step-by-step process of creating effective splints that can stabilize and immobilize injuries, providing the much-needed support until professional medical help can be reached. So, fear not the unexpected accidents that may come your way, for you will now be equipped with the knowledge to craft a reliable splint when it matters most.
Table of Contents
- Preparing Materials and Tools
- Choosing the Right Type of Splint for Your Injury
- Step-by-Step Guide to Constructing a DIY Splint
- Tips for Proper Application and Wearing
- Essential Do’s and Don’ts for Splinting at Home
- Q&A
- Concluding Remarks

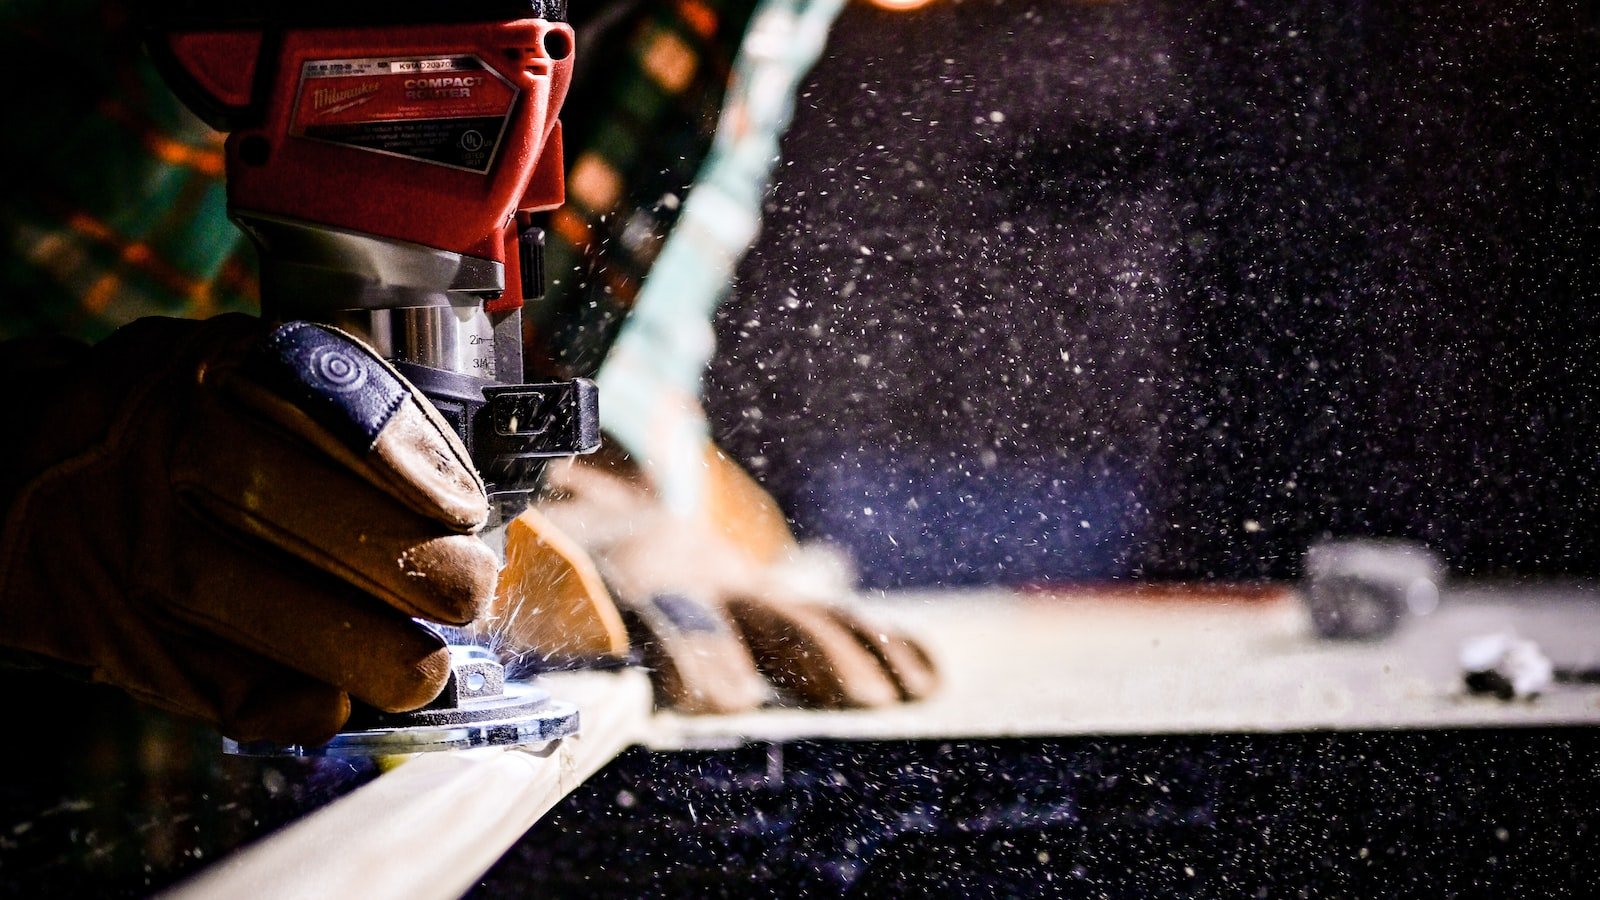
Preparing Materials and Tools
When it comes to getting ready for a project, one of the most crucial steps is preparing all the necessary materials and tools. Without the proper equipment, your project may become overwhelming and frustrating. To ensure a smooth and efficient process, here are some guidelines to follow:
- Make a checklist: Start by creating a comprehensive checklist of all the materials and tools you will need. This step will help you stay organized and prevent any last-minute trips to the store.
- Gather the materials: Once you have your checklist, gather all the required materials. Arrange them in a designated area, making sure they are easily accessible. This way, you won’t waste valuable time searching for items during the project.
- Check and organize your tools: Before diving into your project, thoroughly inspect your tools. Ensure they are in proper working condition and gather any additional tools you may need. Organize them in a toolbox or a neat arrangement for easy access and efficiency.
Remember, the key to a successful project lies in the preparation stage. By following these guidelines and being meticulous in gathering your materials and tools, you’ll set yourself up for a seamless and enjoyable project experience.
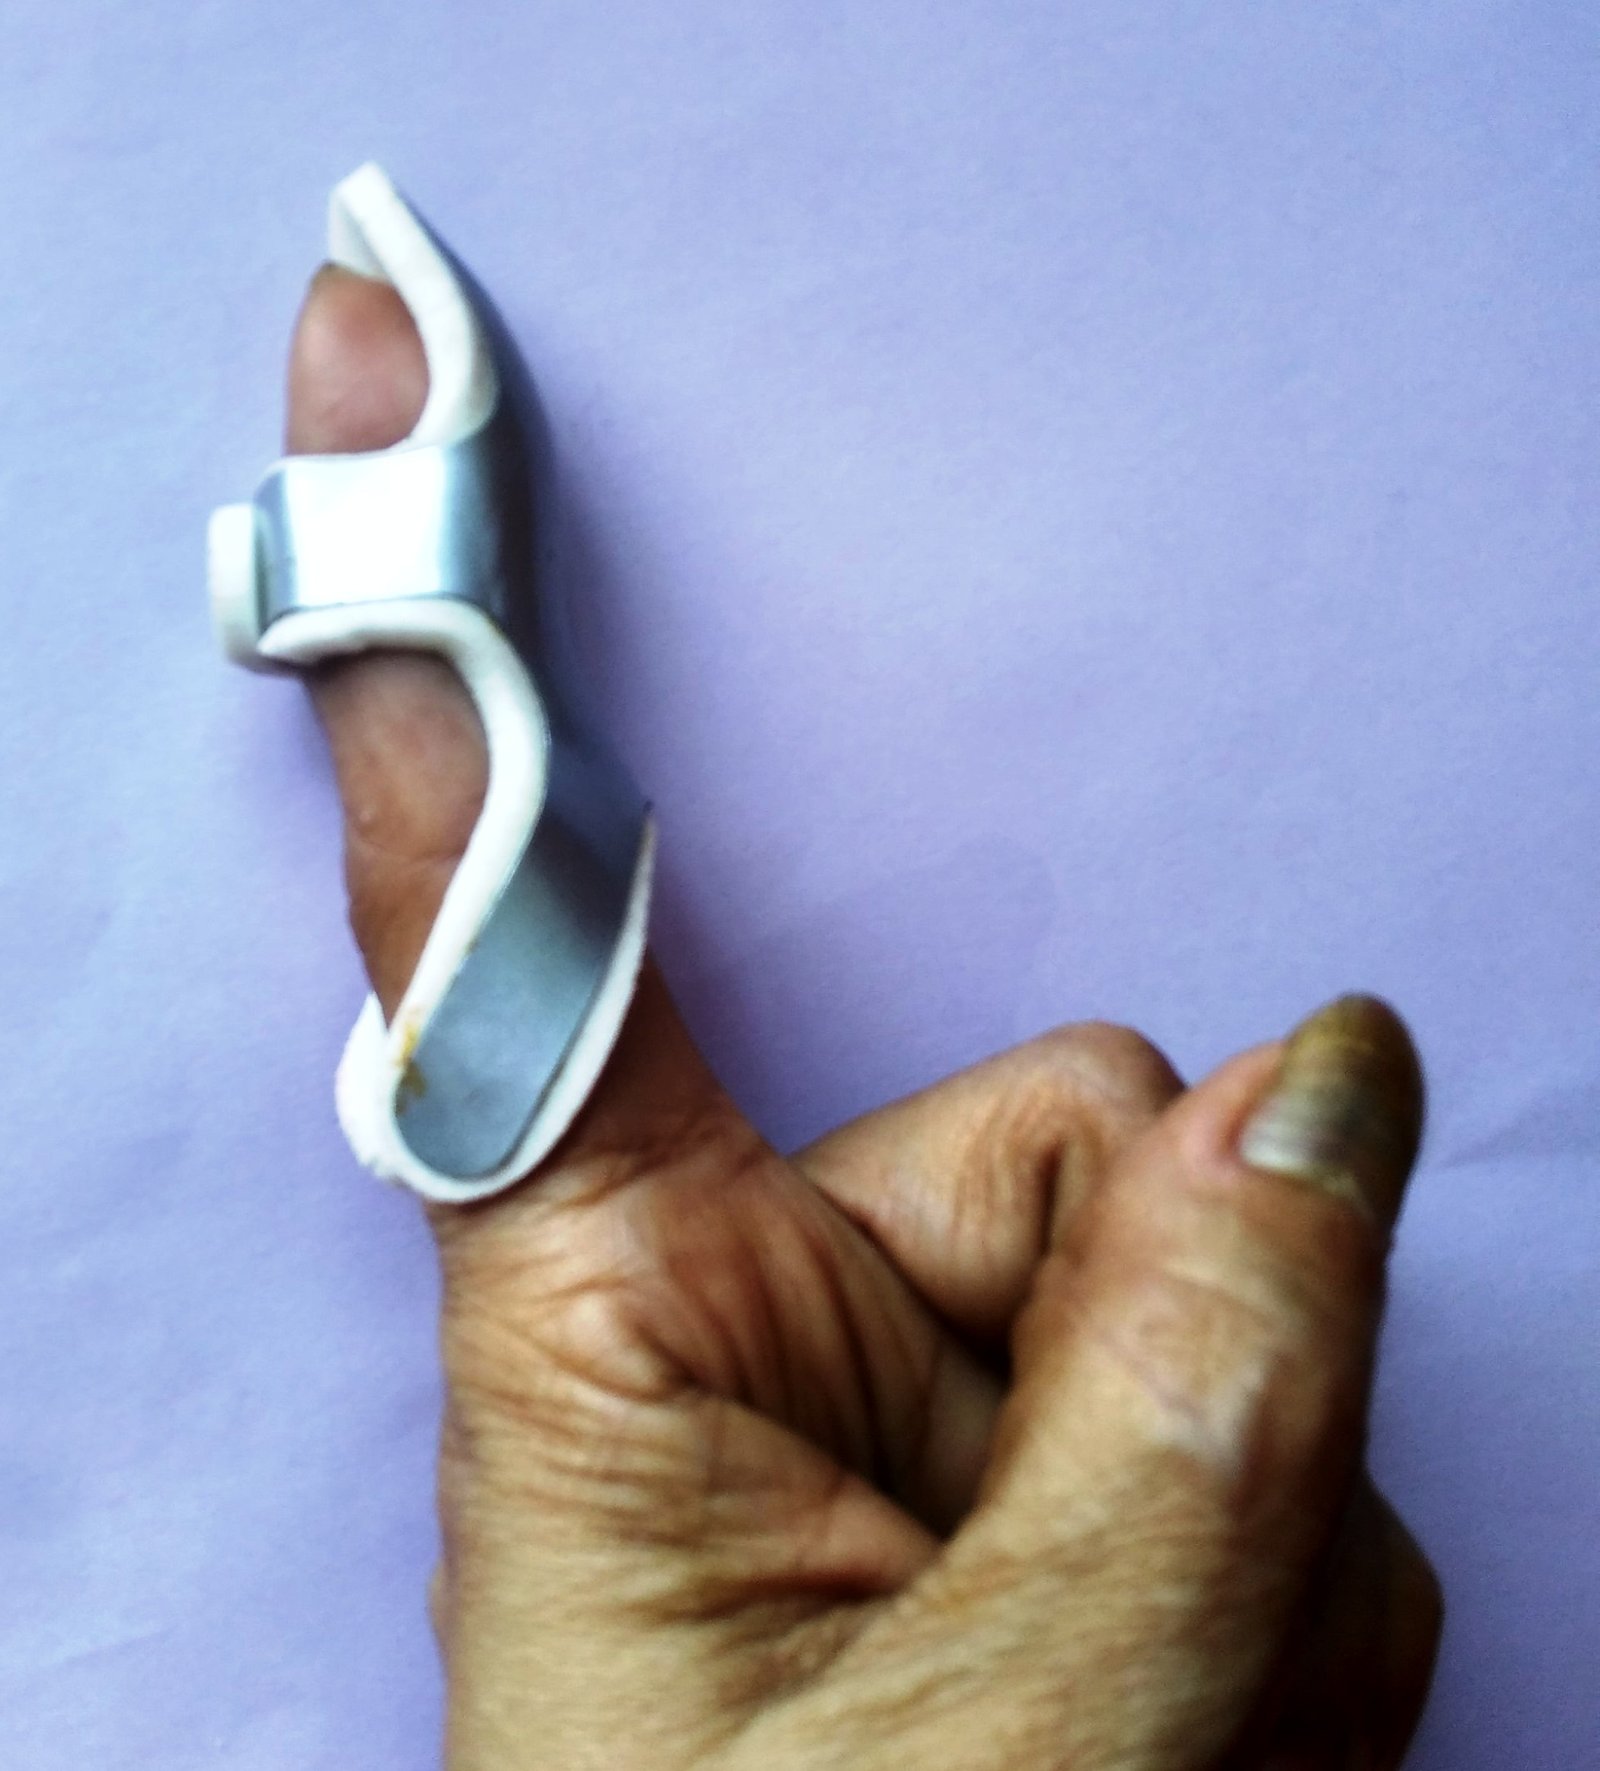
Choosing the Right Type of Splint for Your Injury
When it comes to selecting a splint for your injury, there are a few important factors to consider. The first consideration is the type of injury you have sustained, as different injuries require different types of support. Whether it’s a broken bone, a sprained joint, or a muscular strain, the right splint can make a significant difference in your recovery.
Next, you’ll want to think about the level of immobilization required. Some injuries may only need minimal support, while others may require complete immobilization. This could determine whether you need a soft splint, such as a neoprene brace, or a rigid splint, like a fiberglass or plaster cast. Keep in mind that a healthcare professional can provide valuable guidance in this decision-making process.
Finally, consider the comfort and fit of the splint. It’s essential to choose a splint that fits properly and allows for adjustments as your injury heals and swelling subsides. Look for splints with adjustable straps or customizable features to ensure optimal comfort and support. Remember, finding the right splint is crucial for your recovery, so take the time to understand your injury and consult with healthcare professionals to make an informed decision.
- Consider the type of injury you have sustained.
- Assess the level of immobilization required.
- Ensure the splint provides comfort and a proper fit.
Step-by-Step Guide to Constructing a DIY Splint
Are you in need of a splint but don’t have access to one? Fret not! With some simple materials and a little creativity, you can construct your own DIY splint in no time. Follow this step-by-step guide to get started:
Step 1: Gather the Materials
– Find a sturdy, flat object such as a thin board, ruler, or even a magazine.
– Get hold of some padding material like cloth, cotton balls, or foam.
– Grab some bandages or elastic wraps to secure the splint in place.
Step 2: Prepare the Splint
– Place the padding material on both sides of the injured area for support and comfort.
- Carefully position the flat object along the length of the injured limb. It should be wide and long enough to provide stability.
– Ensure that the splint is snug but not too tight, allowing for some movement to avoid further injury.
Step 3: Secure the Splint
- Wrap the bandages or elastic wraps around the splint, gently but firmly holding it in place.
– Start the wrapping at the point closest to the injury, gradually moving upwards and downwards to secure the entire splint.
– Make sure the wrapping is tight enough to hold the splint in place but not too tight to cut off circulation.
Remember, while a DIY splint can be a temporary solution, it’s always best to seek professional medical assistance as soon as possible. Be cautious, follow these steps carefully, and prioritize the well-being of the injured person.
Tips for Proper Application and Wearing
When it comes to applying and wearing [product name], there are a few tips and tricks that can help you make the most of your experience. Here are some guidelines to ensure proper application and comfortable wearing:
- Cleanse and moisturize: Before applying [product name], make sure your face is clean and moisturized. This will create a smooth canvas for the product to adhere to and enhance its longevity.
- Use the right tools: Whether you prefer brushes, sponges, or your fingertips, choosing the right tools can make a significant difference in the application. Experiment with different options to find what works best for you.
- Blend, blend, blend: Proper blending is key to achieving a natural and seamless finish. Take your time to blend the product evenly, especially around the edges, to avoid any harsh lines or patches.
- Set it in place: To ensure your makeup stays in place all day, consider setting it with a translucent powder or a setting spray. This step can help prevent creasing, smudging, or fading throughout the day.
Remember, practice makes perfect! Don’t be afraid to experiment and find the techniques that work best for your unique features and preferences. With these tips, you’ll be able to achieve a flawless application and enjoy comfortable wear all day long.
Essential Do’s and Don’ts for Splinting at Home
Splinting at home can be a helpful way to provide temporary stabilization and support for injuries, but it’s crucial to follow some essential do’s and don’ts to ensure you’re doing it correctly and safely. Here are some key points to keep in mind:
– DO assess the injury: Before attempting to splint at home, it’s important to assess the extent and type of injury. Understanding the severity and potential risks associated with the injury will help you determine if splinting is the appropriate course of action.
– DO use proper materials: When splinting at home, be sure to use appropriate materials such as padded boards or foam, bandages, or even household items like rolled-up newspapers or magazines. Remember that the primary goal is to immobilize the affected area securely without causing further harm or discomfort.
– DO seek professional advice: While splinting at home can provide temporary relief, it’s important to consult with a healthcare professional as soon as possible. They can assess the injury, provide guidance on proper splinting techniques, and determine if further medical attention is necessary.
Now, let’s move on to the don’ts:
– DON’T apply excessive pressure: It’s crucial not to apply excessive pressure while splinting. This can restrict blood flow and exacerbate the injury. Ensure that the splint is snug, but not too tight, allowing for proper circulation.
- DON’T attempt to realign fractures: Splinting is meant to immobilize the injury, not to realign fractures. Trying to realign bones at home without proper training can worsen the injury or cause additional damage. Leave the realignment process to medical professionals.
– DON’T delay seeking professional help: While splinting can stabilize an injury temporarily, it’s important not to delay seeking professional medical attention. A healthcare provider can accurately diagnose the issue, provide appropriate treatment, and ensure proper healing.
Remember, when splinting at home, safety should always be the top priority. If in doubt, seek immediate medical advice for proper evaluation and guidance.
Q&A
Q: What materials do I need to make my own DIY splints?
A: To make your own DIY splints, you will need materials such as sturdy cardboard or plastic, scissors, tape, and padding material like foam or clothing.
Q: How can I determine the correct size for my splint?
A: To determine the correct size for your splint, measure the injured area or limb carefully and choose materials that can accommodate the size while ensuring stability and comfort.
Q: How do I properly immobilize an injured limb with a DIY splint?
A: Begin by padding the injured area with foam or clothing to provide comfort and support, then carefully align the splint to immobilize the limb, securing it with tape or straps for stability.
Q: Can I use household items as padding material for my DIY splint?
A: Yes, you can use household items such as towels, clothing, or foam as padding material for your DIY splint, as long as they are clean, soft, and capable of providing sufficient cushioning.
Q: What should I do if my DIY splint causes discomfort or increased pain?
A: If your DIY splint causes discomfort or increased pain, it is important to remove or adjust it. Consult a healthcare professional for further evaluation and guidance on proper splinting techniques.
Q: How long should I wear a DIY splint?
A: The duration for wearing a DIY splint depends on the nature and severity of the injury. It is recommended to consult a healthcare professional to determine the appropriate duration for wearing the splint based on individual circumstances.
Q: Can a DIY splint substitute professional medical care?
A: A DIY splint can serve as a temporary measure to immobilize an injured limb before seeking professional medical care. However, it is crucial to consult a healthcare professional to assess the injury and receive appropriate treatment.
Q: Are there any risks involved in using a DIY splint?
A: Improperly made or applied DIY splints can potentially cause further injury or complications. It is important to follow proper guidance, consult healthcare professionals when necessary, and monitor the splinted area for any adverse effects.
Concluding Remarks
As we wrap up our journey into the world of DIY splints, we hope you now have the knowledge and confidence to tackle unexpected mishaps with grace. Remember, a splint can truly be a saving grace when it comes to supporting and protecting injured limbs.
From mastering the art of improvisation to exploring various materials, we have uncovered numerous ways to create splints that rival those used by professionals. Whether you find yourself in the depths of the wilderness or at home facing an unfortunate mishap, these DIY splints can offer relief and stability when you need them most.
Always keep in mind, however, that these makeshift splints should only be used as a temporary measure until professional medical help can be obtained. The safety and well-being of the injured individual should always be the utmost priority.
Now that you possess this new skill, you are armed with the ability to offer immediate aid and comfort in times of need. Your resourcefulness and creativity may just make the difference between a miserable experience and a swift recovery.
So go forth, adventurers, handymen, and caregivers! Embrace the world of DIY splints, and let your ingenuity shine. The ability to fashion your own splints will not only bring convenience during unexpected accidents, but also serve as a testament to your resourcefulness and resilience.
Always remember, though: prevention is the greatest key to avoiding injuries. Stay vigilant, be cautious, and equip yourself with the knowledge and tools necessary to protect yourself and your loved ones.
With that, we bid you farewell. May your DIY splints serve you well, and may they bring comfort and relief to those in need. Stay safe, stay prepared, and always extend kindness and care to the world around you.
As an affiliate, my content may feature links to products I personally use and recommend. By taking action, like subscribing or making a purchase, you’ll be supporting my work and fueling my taco cravings at the same time. Win-win, right?
Want to read more? Check out our Affiliate Disclosure page.