Now Reading: How to Build a DIY Solar Oven
-
01
How to Build a DIY Solar Oven

How to Build a DIY Solar Oven
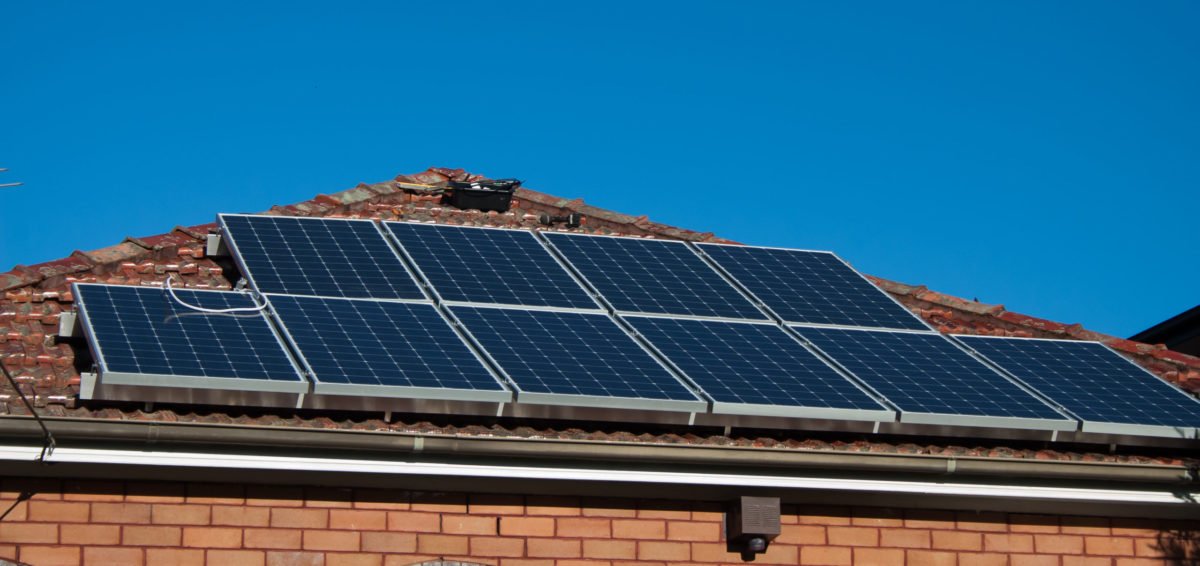
The sun, our celestial source of warmth and brilliance, has captivated humanity since the dawn of time. Apart from illuminating our days and tanning our skin, it can also be harnessed to perform an extraordinary feat – cooking with no electricity or gas required. Yes, the idea sounds like magic from a fairytale, but it’s entirely possible with a do-it-yourself solar oven. A solar oven not only minimizes our reliance on traditional cooking methods but also offers a sustainable and environmentally friendly alternative. So, let’s embark upon this cosmic cooking adventure, as we uncover the simple and ingenious ways to construct a DIY solar oven that will leave you astounded by both the sun’s power and our human ingenuity.
Table of Contents
- Solar Oven Basics
- Choosing the Right Materials
- Step-by-Step Assembly Guide
- Enhancing Efficiency and Performance
- Cooking Tips and Recipes
- Q&A
- Future Outlook

Solar Oven Basics
Harnessing the power of sunlight, solar ovens are ingenious devices designed to transform the sun’s energy into heat for cooking and baking. These environmentally friendly appliances offer a sustainable and efficient alternative to traditional cooking methods, all while reducing the consumption of fossil fuels and minimizing carbon emissions. Get ready to embark on a sun-powered culinary adventure!
- How Does It Work?
- Benefits of Solar Cooking:
- Environmentally Friendly: By utilizing renewable solar energy, solar ovens help reduce greenhouse gas emissions and our dependence on non-renewable fuels.
- Cost-Efficient: Cooking with the sun is free! You’ll save money on energy bills and fuel costs.
- Easy to Use: Solar ovens require minimal effort and can be used in various locations, from your backyard to camping adventures.
- Nutrition Preservation: The slow cooking process of solar ovens helps retain nutrients and flavors, leading to healthier and tastier meals.
- Emergency Preparedness: When conventional power sources are unavailable, solar ovens provide a reliable and independent cooking solution.
- Recipes and Tips:
Solar ovens employ the principles of solar radiation, specifically the conversion of light energy into heat. The oven’s reflective surfaces concentrate sunlight onto a cooking chamber, usually consisting of a dark-colored pot or tray. The highly efficient insulation of the oven traps the heat, reaching temperatures between 250°F and 450°F. This allows you to cook anything from simple recipes to gourmet meals, all without a conventional fuel source.
Once you’re acquainted with the fundamentals, the possibilities are endless! From delectable roasted vegetables to mouth-watering desserts, solar ovens enable you to explore a world of diverse flavors. You’ll find a wealth of solar oven recipes online, designed specifically for this unique cooking style. Additionally, make sure to consider factors such as positioning the oven to maximize sunlight exposure and adjusting cooking times based on weather conditions.
Embrace the power of the sun and unlock a new realm of sustainable cooking with solar ovens. Whether you’re an outdoor enthusiast, an eco-conscious individual, or simply curious about alternative cooking methods, these ovens offer an exciting and eco-friendly way to enjoy delicious meals!

Choosing the Right Materials
When it comes to any project or task, selecting the appropriate materials is crucial. The right materials can significantly impact the quality, durability, and overall success of your endeavor. Here are some key factors to consider while making your choices:
- Functionality: Before making any decisions, clearly define the purpose and requirements of your project. Will you need materials that are weather-resistant, fireproof, or antimicrobial? Make a checklist of necessary functions and use it as a guide.
- Budget: Finances play a vital role in material selection. Consider several options within your budget range, but remember that quality is often worth the investment. Opt for materials that offer both durability and cost-effectiveness in the long run.
- Aesthetics: Visual appeal is important too! If you’re planning a renovation or design project, think about the appearance you want to achieve. Consider different colors, textures, and finishes to find materials that complement your desired aesthetic.
- Sustainability: In this eco-conscious era, choosing sustainable materials has become increasingly essential. Look for options that are environmentally friendly, recyclable, or made from renewable resources. Make a positive impact on the planet while creating something remarkable.
By carefully weighing functionality, budget, aesthetics, and sustainability in your material selection process, you’ll set yourself up for a successful outcome. Remember, every choice counts when it comes to achieving your goals!

Step-by-Step Assembly Guide
Follow these detailed instructions to successfully assemble your product:
- Gather the tools: Begin by ensuring you have all the necessary tools needed to complete the assembly. This may include a screwdriver, hammer, pliers, and any other specific tools mentioned in the instruction manual.
- Read the manual: Take the time to thoroughly read the instruction manual provided. Familiarize yourself with the parts, their names, and the order in which they need to be assembled. This will save you time and effort during the process.
- Prepare the workspace: Clear a suitable workspace with enough room to spread out and organize the different components. This will help you stay organized and prevent any misplaced parts.
- Assemble the base: Begin by assembling the base of the product according to the provided diagrams. Double-check that all the components are tightly secured to ensure stability.
- Attach the main structure: Carefully attach the main structure to the base, following any specific instructions mentioned in the manual. Pay attention to any alignment guidelines to ensure a proper fit.
- Secure additional parts: Proceed to attach any additional parts or accessories as instructed. This could include shelves, handles, or decorative elements. Take your time to ensure they are properly aligned and fastened.
- Double-check: Once assembly is complete, carefully inspect the product for any loose or unstable parts. Ensure all screws, bolts, or other fasteners are tightened properly.
Congratulations! You have successfully assembled your product using our step-by-step guide. Enjoy your new item and feel free to refer back to this guide for any future maintenance or disassembly.
Happy assembling!

Enhancing Efficiency and Performance
HTML has revolutionized the way we enhance efficiency and performance in our technological endeavors. With its ease of use and flexibility, HTML empowers us to create websites and applications that are both visually stunning and highly functional.
One of the key advantages of using HTML is its ability to optimize performance through efficient coding practices. By structuring content using semantic HTML elements, developers can ensure that search engines can easily crawl and index their websites. This, in turn, improves search engine optimization (SEO) and increases the website’s visibility to potential users.
Additionally, HTML allows for the implementation of various performance-enhancing techniques. From minifying CSS and JavaScript files to compressing images and leveraging browser caching, HTML provides a plethora of options to ensure that websites load quickly and efficiently. By utilizing best coding practices and employing advanced performance optimization techniques, developers can significantly improve the user experience and keep visitors engaged.
In order to enhance efficiency further, HTML provides the capability to integrate innovative features and functionalities. With the help of HTML5, developers can incorporate audio and video elements directly into web pages, eliminating the need for third-party plugins. This not only improves performance but also enhances the overall user experience. Additionally, HTML5 supports the use of advanced forms that enable real-time validation and input types, making data input faster and more accurate.
In conclusion, HTML is a powerful tool that allows us to enhance efficiency and performance in the digital realm. By adhering to best coding practices, optimizing performance, and leveraging HTML5’s advanced features, we can create websites and applications that not only meet users’ needs but also exceed their expectations. Whether it’s increasing load speed, improving SEO, or integrating innovative functionalities, HTML unlocks a world of possibilities for developers aiming to enhance efficiency and performance.
Cooking Tips and Recipes
Whether you’re a seasoned chef or a novice in the kitchen, this section is a culinary haven for all food enthusiasts. From sizzling stir-fries to delectable desserts, we’ve got you covered with an array of cooking tips and mouthwatering recipes that will ignite your taste buds and unleash your inner chef.
Let’s start with some handy cooking tips that can elevate your culinary skills to new heights. Tip #1: To achieve perfectly tender meat, try marinating it overnight in a combination of your favorite spices and a touch of acidity like lemon juice or vinegar. This simple trick infuses flavors and creates a melt-in-your-mouth texture. Tip #2: For crispier roasted vegetables, toss them in olive oil and sprinkle with a pinch of sea salt before popping them in the oven. The result? A delightful crunch and a burst of natural flavors in every bite.
Now, onto the recipes! We have a wide range of delectable dishes waiting for you to explore. Prepare to ignite your senses with our Szechuan-style Kung Pao Chicken, bursting with vibrant flavors, tender chicken, and a tantalizing kick of heat. Looking for something sweet? Our Decadent Triple Chocolate Brownies will transport you to chocolate heaven with their fudgy center, crackly top, and pockets of gooey melted chocolate.
Whether you’re searching for quick and easy meals, exotic cuisines, or classic comfort foods with a twist, our collection of is here to inspire and guide you on your culinary adventure. Get ready to dazzle your taste buds and wow your loved ones with unforgettable creations that will bring joy to every meal.
Q&A
## **How to Build a DIY Solar Oven**
### **Q: What materials do I need to build a solar oven at home?**
A: To build a DIY solar oven, you will need materials like cardboard, aluminum foil, a glass pane or plastic wrap, glue, and a black paint or dark-colored poster board.
### **Q: Do I need any special tools to construct a solar oven?**
A: No specialized tools are required. You might need basic household items such as a ruler, scissors, or a utility knife to cut cardboard and foil.
### **Q: Can I build a solar oven without access to electricity or a heat source?**
A: Absolutely! A solar oven harnesses the power of the sun’s rays to cook food, so electricity or any other external heat source is unnecessary.
### **Q: How do I construct the base of the solar oven?**
A: Begin by cutting out a large square-shaped piece of cardboard, folding it in half diagonally, and securing the edges with glue or tape to create a triangular prism-shaped base.
### **Q: What is the purpose of the reflective surface within the solar oven?**
A: The reflective surface, typically made of aluminum foil, helps to focus sunlight into the oven and increase the heat inside, allowing proper cooking.
### **Q: Can I use alternative materials for the reflective surface?**
A: Yes, if you don’t have aluminum foil, you can use reflective Mylar, an emergency blanket, or even reflective silver gift wrap to achieve a similar effect.
### **Q: How do I create a transparent lid for my solar oven?**
A: Cut a square or rectangular hole on the top of your oven’s base and cover it with a glass pane or plastic wrap, ensuring it is securely attached to keep the heat trapped inside.
### **Q: What is the best position to place my solar oven for maximal sunlight exposure?**
A: Position your solar oven in direct sunlight, ideally facing south if you’re in the Northern Hemisphere, to ensure it receives the maximum amount of sunlight throughout the day.
### **Q: How long does it take to cook food in a solar oven?**
A: Cooking times vary based on factors such as sunlight intensity and the type of food being cooked. However, in general, expect a longer cooking time compared to traditional methods. Solar cooking is a slow process, but the results are worth it!
### **Q: Can I use a solar oven for baking or cooking specific dishes?**
A: Yes, a solar oven can be used for baking bread, cakes, roasting vegetables, and even cooking meats. Some adjustments in cooking times and techniques may be necessary to adapt to the solar cooking method.
Future Outlook
As we wrap up this enlightening journey on constructing your own solar oven, let’s bask in the warm glow of accomplishment. You’ve ventured into the realm of sustainability with courageous strides, embracing the power of the sun and nurturing your culinary creativity.
By now, you’ve witnessed the magic of harnessing sunlight, transforming it into a remarkable source of energy that can perfectly bake, roast, and grill your favorite delicacies. Rest assured, the remarkable taste of a sun-kissed dish is just a homemade solar oven away.
As you reflect on this DIY adventure, remember that building a solar oven doesn’t just empower you with a delectable cooking method. It’s a symbolic testament to your determination to reduce carbon footprints and become a steward of our planet. With each delectable creation, you’re not only satisfying your taste buds, but also casting a vote towards a brighter, greener future.
So, gather your materials, summon that inventive spirit, and embark on the solar oven journey. With a dash of resourcefulness and a sprinkle of ingenuity, you’ll embark on a culinary expedition like no other. Embrace the sun’s radiant embrace and unlock the secret to mouthwatering, sustainable dining.
Remember, your solar oven isn’t just a mere construction project; it’s an invitation to reimagine the possibilities and to challenge conventional norms. Embrace the warmth, both in your delectable dishes and in your heart, knowing that you’ve taken a small step towards transforming the world, one homemade solar oven at a time.
In this journey, may your days be filled with delectable aromas, culinary adventures, and a deep appreciation for Mother Nature’s gift of sunlight. With your newly constructed solar oven, you’ll embark on a greener, more flavorful tomorrow.
Now, go forth and let your solar oven shine bright, illuminating both your kitchen and the world with each sizzling success. Bon appétit, passionate solar chefs, and may your sun-inspired creations make this planet a better place, one delectable morsel at a time!
As an affiliate, my content may feature links to products I personally use and recommend. By taking action, like subscribing or making a purchase, you’ll be supporting my work and fueling my taco cravings at the same time. Win-win, right?
Want to read more? Check out our Affiliate Disclosure page.


