Now Reading: How to Make a DIY Emergency Air Filter
-
01
How to Make a DIY Emergency Air Filter

How to Make a DIY Emergency Air Filter
The wind howls outside your window, carrying with it the pungent scent of smoke. Panic floods your mind as you realize the threat of an impending emergency situation. Ensuring clean air becomes a paramount necessity, but what if access to conventional air filters is limited? Fear not, for in this article, we will unveil a creative solution to your predicament – the art of crafting your very own DIY emergency air filter. With a few readily available materials and a dash of resourcefulness, you can breathe easier, even in the midst of chaos. Let us embark on this journey of ingenuity and self-reliance as we explore the steps to fashion a versatile air filtration system from scratch – the ultimate weapon against airborne pollutants that dare to invade your sanctuary.
Table of Contents
- DIY Emergency Air Filter: A Lifesaving Device for Clean Indoor Air
- Materials and Tools: What You Need to Get Started
- Step-by-Step Guide: Building Your Emergency Air Filter
- Key Considerations: Choosing the Right Filter Media
- Ensuring Effectiveness: Maintenance and Proper Use of Your DIY Emergency Air Filter
- Q&A
- Key Takeaways

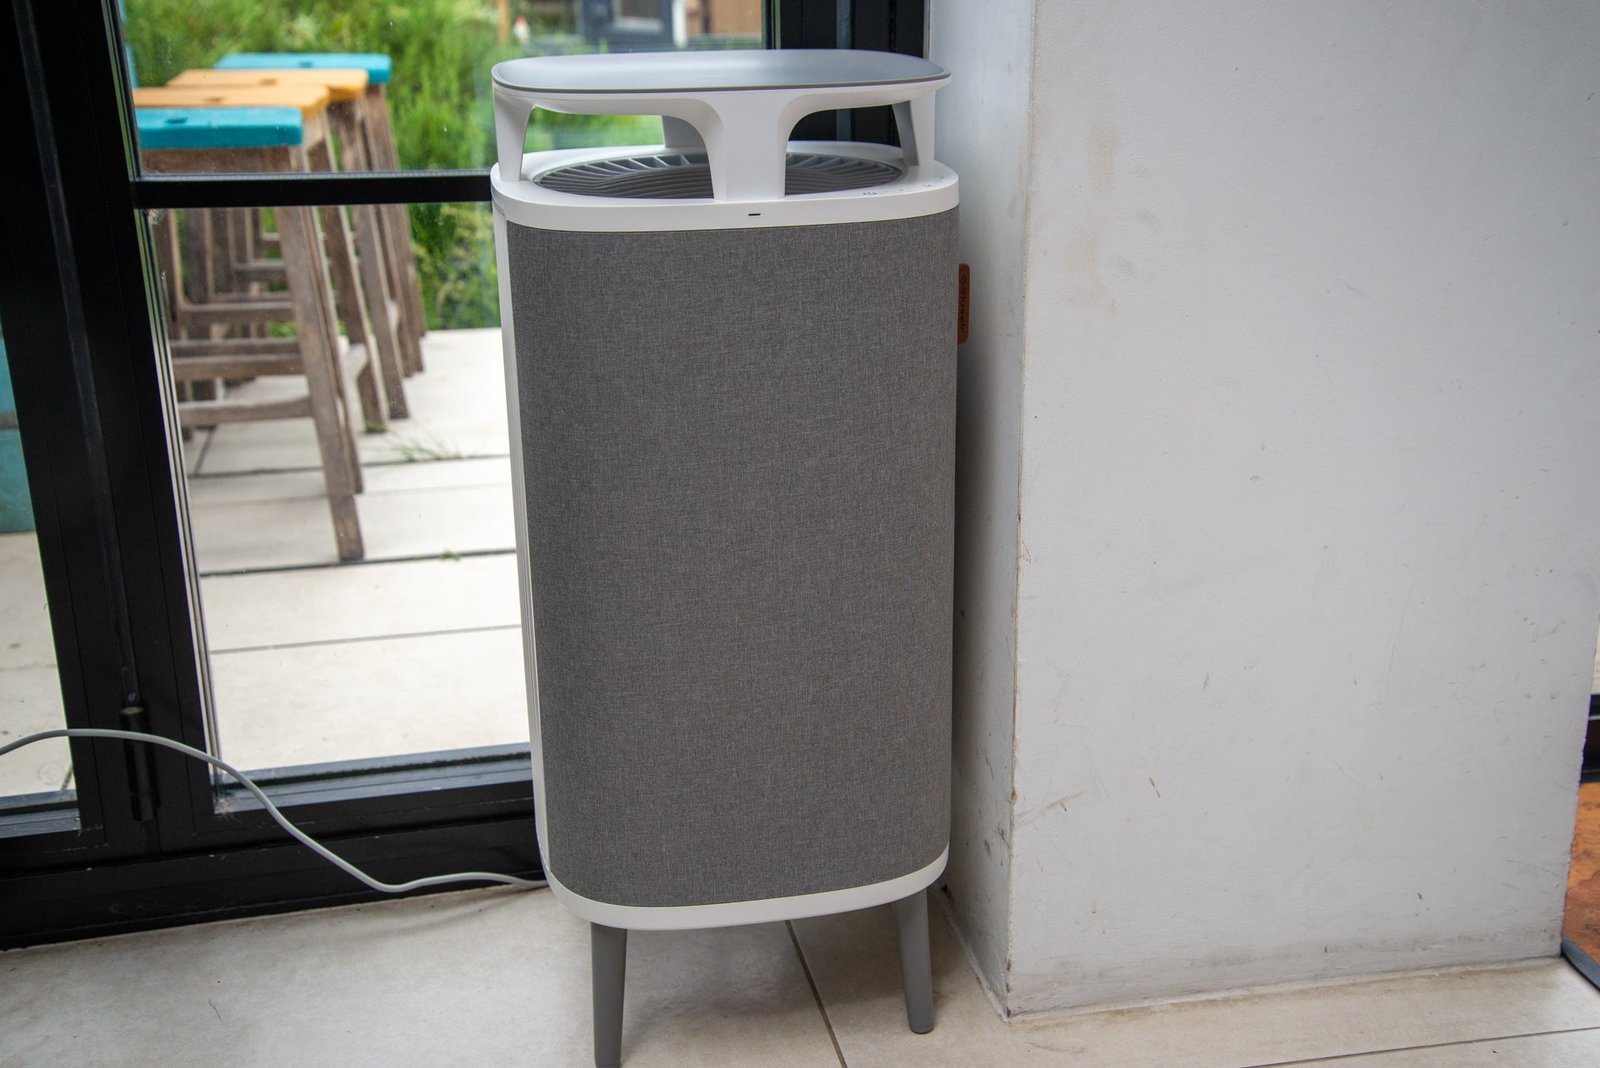
DIY Emergency Air Filter: A Lifesaving Device for Clean Indoor Air
In uncertain times or in emergencies, having access to clean indoor air is crucial for the well-being and safety of yourself and your loved ones. While professional air filtration systems may not be readily available or affordable, you can create your own DIY emergency air filter using simple household items.
To make this lifesaving device, you will need:
- A box fan
- A high-efficiency furnace filter (at least MERV 13 rating)
- Duct tape
- Scissors
Start by cutting the furnace filter to fit the size of your box fan. Make sure it covers the entire front of the fan, leaving no gaps. Next, use duct tape to secure the filter to the front of the fan, ensuring a tight seal. This is where the magic happens - the filter will trap airborne particles and improve the air quality in your space.
Remember to regularly replace the filter for optimal performance. This DIY emergency air filter may not be as efficient as professional filtration systems, but it can still help provide cleaner air during emergencies or when clean air is limited.

Materials and Tools: What You Need to Get Started
Embarking on a new project can be thrilling, but it’s essential to ensure you have the right materials and tools to guarantee a successful outcome. Whether you’re an amateur DIY enthusiast or a seasoned professional, we’ve compiled a comprehensive list of essentials that will set you up for triumph.
Materials:
- Quality lumber: Choose sturdy wood that fits the requirements of your project, ensuring it is free from knots and cracks.
- Vibrant paints: Add a pop of color to your masterpiece with an array of high-quality paints that suit your style and preferences.
- Durable nails and screws: Opt for the correct size and type of fasteners to ensure the stability and longevity of your creation.
- Sturdy fabrics: If you’re into sewing or upholstery, select fabrics that are both visually appealing and robust enough to endure everyday wear and tear.
Tools:
- Hammer: A trusty hammer is a quintessential tool for any project, whether you’re driving nails or breaking up materials.
- Screwdriver set: Make sure you have a versatile set of screwdrivers, including both flathead and Phillips head options.
- Saw: Invest in a sharp and reliable saw to effortlessly cut through wood, plastic, or other materials.
- Tape measure: Accuracy is key, so don’t forget to have a trusty tape measure by your side to ensure precise measurements.
- Paintbrushes: Various brush sizes will enable you to achieve different effects and ensure smooth and professional application of paints.
With these materials and tools at your disposal, you’re ready to unleash your creativity and embark on your next project with confidence. Remember to prioritize safety and have fun throughout the process!
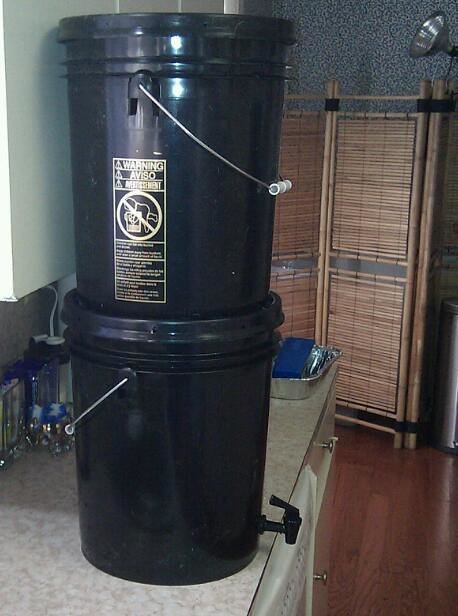
Step-by-Step Guide: Building Your Emergency Air Filter
Looking for a simple and effective solution to purify the air during emergencies? Follow this step-by-step guide to build your own emergency air filter and breathe easier, no matter the circumstances.
Gather the necessary materials:
- A large plastic container with a lid
- A box cutter or sharp knife
- A HEPA (High-Efficiency Particulate Air) filter
- A roll of duct tape
- Elastic bands
- A marker or pen
- A drill (optional)
Step 1: Prepare the container:
- Take the plastic container and mark a rectangular opening on one of the sides using a marker or pen.
- Carefully cut out the marked rectangle using a box cutter or sharp knife.
- If available, drill small-sized ventilation holes on the opposite side of the container for improved airflow.
Step 2: Attach the HEPA filter:
- Place the HEPA filter over the cut-out rectangle.
- Use duct tape to secure the filter firmly in place, ensuring no gaps or leaks.
- For extra support, wrap elastic bands around the container, securing the filter further.
Your emergency air filter is now complete and ready for use. Simply cover the container tightly with its lid, leaving space for air intake, and position it near the source of contamination. Remember to regularly monitor and replace the filter as necessary to maintain its effectiveness.

Key Considerations: Choosing the Right Filter Media
When it comes to choosing the right filter media for your specific needs, there are several important factors to consider. These considerations will help ensure that you select the most suitable filter media that meets your requirements effectively:
- Size and Shape: The size and shape of the filter media can significantly impact the overall filtration efficiency. It is essential to consider the particle size distribution of the contaminants you aim to remove and select a filter media with the appropriate pore size. Additionally, the shape of the media can affect the pressure drop and filtration performance.
- Material: Filter media can be manufactured using a wide range of materials, including polyester, cotton, fiberglass, and activated carbon. Each material possesses unique characteristics that impact its filtration capabilities. Consider the chemical compatibility of the filter media with the substances you intend to filter, as well as its resistance to heat and moisture.
- Efficiency: The filtration efficiency of the media plays a crucial role in determining its effectiveness. Some media are specifically designed to provide high-efficiency filtration for removing fine particles, while others may prioritize adsorption or odor control. Determine the level of filtration required for your application and choose a media that meets those requirements.
- Cost-effectiveness: Evaluating the cost-effectiveness of filter media involves considering factors such as initial investment, maintenance, and replacement costs. While some media may have a higher upfront cost, they could provide longer-lasting performance or require less frequent replacement, resulting in overall cost savings.
By carefully considering these key factors, you can make an informed decision when choosing the right filter media for your filtration system. Remember to assess your specific filtration needs, prioritize efficiency and performance, and keep long-term cost savings in mind.
Ensuring Effectiveness: Maintenance and Proper Use of Your DIY Emergency Air Filter
Now that you have successfully created your own DIY emergency air filter, it is important to ensure its effectiveness through regular maintenance and proper use. By following these simple guidelines, you can maximize the efficiency of your air filter and keep yourself and your loved ones breathing clean, fresh air.
Maintenance Tips:
- Regular cleaning: Dust and debris can accumulate on the filter over time, reducing its efficiency. Clean the filter at least once a month or when you notice a decrease in airflow. Simply remove the filter, gently rinse it with water, and let it dry completely before reattaching.
- Replace when necessary: Filters have a lifespan, and it’s crucial to replace them when they become worn out or damaged. Inspect your filter regularly for signs of wear and tear, such as holes or excessive dirt buildup. Replace it immediately to maintain optimal performance.
- Store properly: If you keep the DIY filter in storage, make sure it is stored in a clean, dry environment. Store it in a sealed plastic bag or container to prevent dust or moisture from affecting its efficiency.
Proper Use Techniques:
- Positioning matters: Place your DIY air filter in a central location where it can effectively circulate clean air throughout the room. Keep it away from obstructions, such as furniture or curtains, to allow for optimal airflow.
- Use in clean environments: Remember that DIY air filters are designed to enhance the air quality in your space, not to purify extremely polluted air. It is best to use your filter in clean environments to maintain its effectiveness and prolong its lifespan.
- Monitor performance: Keep an eye on the airflow and performance of your DIY air filter. If you notice a significant decrease in airflow or a decline in air quality, it might be time for maintenance or even a replacement.
By following these maintenance tips and proper use techniques, you can ensure that your DIY emergency air filter remains effective and provides you with cleaner, healthier air. Remember, the cleanliness of your air filter directly affects the quality of the air you breathe, so prioritize its maintenance and take pride in your homemade solution.
Q&A
What materials do I need to make a DIY emergency air filter?
You will need a 20-inch box fan, a MERV 13 or HEPA air filter, a bungee cord or tape, and a sharp knife or scissors.
How do I create the filter using a box fan?
First, remove the front grill of the box fan. Then, attach the MERV 13 or HEPA air filter to the back of the fan using a bungee cord or tape. Ensure a tight fit and cut off any excess filter material.
Where should I place the DIY emergency air filter?
Place the filter-fitted box fan near a door or window, facing outwards. This setup will help pull outside air through the filter, allowing it to capture dust, pollen, and other impurities, providing cleaner air indoors.
How often should I replace the air filter?
Check the air filter regularly and replace it every 2-3 months, or sooner if it appears dirty or clogged. A clean filter is essential for optimal air filtration and to maintain the efficiency of your DIY emergency air filter.
Can I use this DIY air filter during a wildfire event?
While a DIY emergency air filter can help improve indoor air quality to some extent, it may not filter out all the harmful particles emitted during wildfire events. It is recommended to seek professional advice or use certified air purifiers for maximum protection during such intense situations.
Key Takeaways
In times of uncertainty and unexpected emergencies, it never hurts to be prepared. We’ve explored the innovative world of emergency air filters, guiding you through the process of creating your very own DIY solution. By repurposing everyday household items, you’ve empowered yourself with the ability to breathe cleaner air when it matters most.
With resourcefulness as your greatest ally, you can now rest assured knowing that a clean and safe environment is within your grasp, even in the face of unforeseen circumstances. Remember, this homemade air filter serves as a temporary solution, a symbol of your creativity and determination in times of need.
While we hope you’ll never have to put these skills to use, it’s a comforting thought to have a homemade filter stashed away for the unexpected. Flexing your imagination and ingenuity, you’ve taken a step towards self-reliance and reassurance during tumultuous times.
So, whether it’s the aftermath of a natural disaster or an unexpected event that disrupts the air we breathe, you’ve proven that a little resourcefulness can go a long way. In the face of uncertainty, you’ve become a beacon of creativity, meticulously crafting your own emergency air filter.
Remember, safety should always be your paramount concern, and it’s essential to stay informed about official guidelines and recommendations during emergency situations. But armed with our DIY emergency air filter knowledge, you’ve added an extra layer of preparedness to your repertoire.
As we conclude this guide, we leave you with a newfound sense of resilience and a lasting reminder that when challenges arise, your creativity can become the antidote. Stay prepared, stay safe, and breathe easier knowing that you’ve got the power to tackle whatever lies ahead.
As an affiliate, my content may feature links to products I personally use and recommend. By taking action, like subscribing or making a purchase, you’ll be supporting my work and fueling my taco cravings at the same time. Win-win, right?
Want to read more? Check out our Affiliate Disclosure page.