Now Reading: How to Make DIY Emergency Candles
-
01
How to Make DIY Emergency Candles
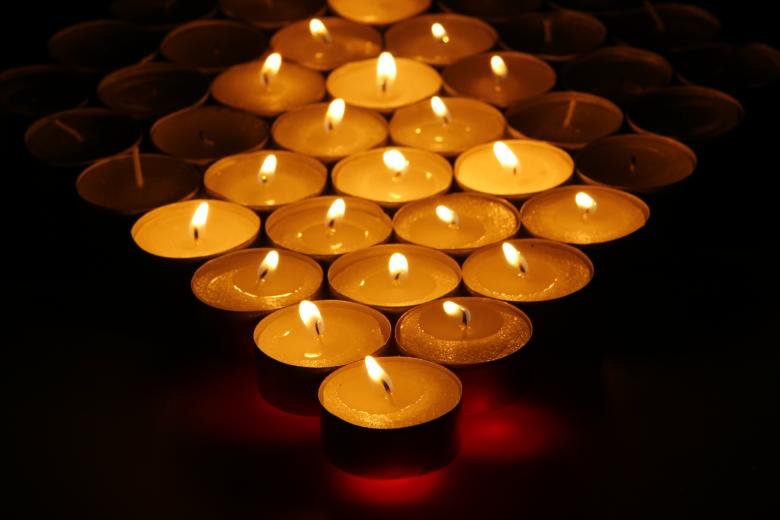
How to Make DIY Emergency Candles
Casting an enchanting glow that dances with shadows, a flickering flame has a mystical way of bringing solace during dark hours. Whether you find yourself plunged into unexpected power outages or wandering off the beaten path into the wilderness, having a reliable source of light is a necessity. Crafted with a touch of resourcefulness and a dash of creativity, DIY emergency candles are the ultimate saviors in times of crisis. So bid farewell to your reliance on flashlights and embark on a mesmerizing journey to discover how you, yes you, can create these illuminating wonders with a few simple materials at hand. Illuminate your path, illuminate your soul!
Table of Contents
- Choosing the Right Materials for DIY Emergency Candles
- Step-by-Step Guide: Crafting Your Own Emergency Candles
- Tips and Tricks for Maximizing Burn Time and Efficiency
- Exploring Alternative Options: Creative Ways to Make Emergency Candles
- Precautions and Safety Measures When Using DIY Emergency Candles
- Q&A
- Wrapping Up
Choosing the Right Materials for DIY Emergency Candles
In times of emergency or power outages, having a reliable light source is essential. DIY emergency candles are a great option as they are cost-effective and can be easily made at home. However, the key to creating candles that burn efficiently and provide ample light lies in selecting the right materials.
Wax: The foundation of any candle is wax, and there are various options to consider. Paraffin wax is commonly used due to its affordability and availability. If you prefer a more eco-friendly alternative, soy wax is an excellent choice, as it burns cleaner and produces less soot.
Wick: A crucial component of a candle, the wick plays a significant role in its performance. Cotton wicks are the most common and are known for their reliability and steady burn. When selecting a wick, consider the size of your candle container to ensure it is the right length.
Additives: While optional, adding certain materials to your DIY candles can enhance their functionality. Mixing essential oils into the melted wax can create a pleasant aroma. Additionally, adding a small amount of salt to the wax can help reduce the soot produced during burning.
Container: You’ll need a sturdy container to hold your DIY emergency candle. Mason jars are an excellent choice as they are heat-resistant and readily available. Remember to choose a size that suits your needs while leaving enough space for the wax to melt and the flame to flicker.
By carefully selecting the right materials, you can create DIY emergency candles that not only provide a reliable light source but also offer a calming and comforting ambiance during uncertain times.
Step-by-Step Guide: Crafting Your Own Emergency Candles
To begin crafting your own emergency candles, gather the necessary materials for this illuminating project. You will need the following items:
- A heat-resistant container or mold (such as a glass jar or metal tin)
- Wax flakes or old candles for melting
- A wick (cotton or hemp wick is ideal)
- Essential oils for fragrance (optional)
- Coloring for customization (optional)
- A double boiler or makeshift one using a pot and heatproof bowl
- A thermometer
- Heat-resistant gloves for safety
- A stirring utensil
Once you have gathered your materials, it’s time to start the candle-making process. Follow these step-by-step instructions:
- Prepare your container or mold by cleaning it thoroughly and ensuring it is dry.
- Measure the amount of wax flakes needed by filling your chosen container to the desired level and then transferring the flakes to your double boiler.
- Place the double boiler on low heat and allow the wax to melt slowly. Make sure to monitor the temperature with a thermometer, ensuring it doesn’t exceed the wax’s melting point.
- Add any desired scents or colors to the melted wax and stir gently until well mixed.
- Meanwhile, secure the wick to the bottom of your container or mold. You can use a glue dot or a small amount of melted wax to keep it in place.
- Once the wax is fully melted, carefully pour it into your prepared container, ensuring the wick remains centered and straight.
- Allow the candle to cool and harden completely, which may take several hours.
- Trim the wick to the desired length, leaving approximately 1/4 inch for easy lighting.
- Your homemade emergency candle is now ready to provide you with a reliable source of light in times of need!
Remember, safety is of utmost importance when working with hot wax. Always wear protective gloves and work in a well-ventilated area. Enjoy the process of creating your own unique emergency candles and feel empowered knowing you can rely on them during unexpected power outages or emergencies.
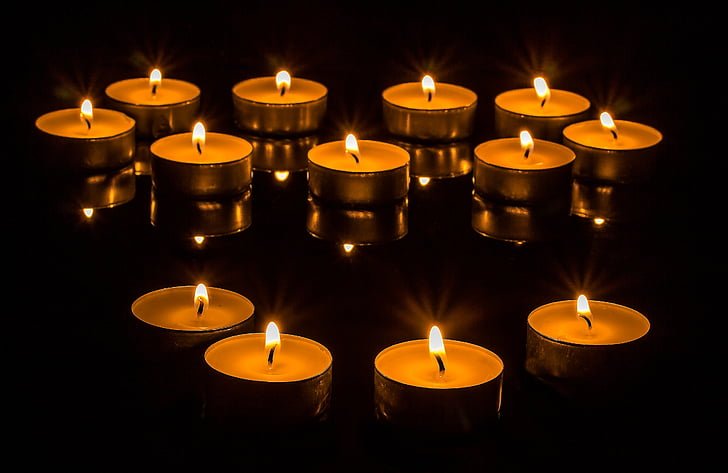
Tips and Tricks for Maximizing Burn Time and Efficiency
When it comes to getting the most out of your burn time and achieving maximum efficiency with your tasks, a few simple tips and tricks can go a long way. Here are some creative ways to optimize your productivity:
- Break tasks into smaller, manageable chunks: Rather than tackling large projects all at once, break them down into smaller, more achievable tasks. This not only helps you stay focused, but also allows you to track progress more effectively.
- Utilize the power of prioritization: Prioritizing your tasks based on their urgency and importance can greatly enhance your efficiency. Identify the most crucial tasks and tackle them first, then move on to less critical ones.
- Embrace the Pomodoro Technique: This popular time management method involves working in bursts of focused activity, followed by short breaks. Set a timer for 25 minutes of dedicated work, then reward yourself with a 5-minute breather. Repeat this cycle several times to boost productivity.
- Minimize distractions: Create a conducive environment for working efficiently by minimizing distractions. Turn off unnecessary notifications, limit social media use, and keep your workspace clutter-free to help maintain your concentration.
By implementing these tips and tricks into your daily routine, you’ll be amazed at how much more you can accomplish in less time. Remember, small changes can have a big impact when it comes to maximizing burn time and efficiency!
Exploring Alternative Options: Creative Ways to Make Emergency Candles
Imagine finding yourself in the midst of a power outage, desperately needing a source of light. In such situations, emergency candles can be a lifesaver. While traditional candles are readily available, exploring alternative options can broaden our horizons and spark our creativity. Here are some unique and imaginative ways to create emergency candles:
– Orange Peel Candles: Before tossing away those citrus peels, consider turning them into natural, fragrant candles. Simply carve out a small section of the orange, leaving the center stem intact. Pour a little olive oil or vegetable oil into the cavity, allowing it to soak for a few minutes. Finally, light the stem on fire, and voila! You have a vibrant, eco-friendly candle that not only provides illumination but also fills the room with a refreshing aroma.
– Crisp Packet Candles: Don’t let empty chip packets go to waste. With a few steps, you can transform them into makeshift candles. Flatten the empty packet and roll it lengthwise into a tight tube. Secure one end tightly with a binder clip or paperclip, creating a base. Fill the tube with a little vegetable oil, and attach a thick, cotton string to the binder clip. The string should dangle into the oil, acting as a wick. Light the wick, and watch as the colorful chip packet illuminates your surroundings.
- Butter Candle: In a pinch, butter can serve as a surprising candle substitute. Remove the label from a tub of butter, leaving the cardboard container in place. Simply slit the cardboard lengthwise, creating an opening that exposes the butter. Light the edge of the cardboard, and soon you’ll have a naturally scented, long-lasting, and steady source of candlelight.
These are just a few imaginative alternatives to traditional emergency candles. Not only are they resourceful options in times of need, but they also add a touch of creativity to any situation. So, don’t hesitate to explore these ideas and discover your own unique ways of making emergency candles!
Precautions and Safety Measures When Using DIY Emergency Candles
When it comes to creating your own emergency candles, it’s important to prioritize safety to prevent any accidents or mishaps. Here are some precautions and safety measures to keep in mind:
- Choose the right materials: Ensure you use proper candle-making materials that are designed for emergencies, such as pure beeswax or soy wax. Avoid using flammable substances or low-quality materials that could pose a fire hazard.
- Keep a fire extinguisher nearby: Accidents happen, so it’s crucial to have a fire extinguisher within reach when using DIY emergency candles. Familiarize yourself with how to operate it efficiently, should you ever need it.
- Never leave unattended: Always supervise your DIY emergency candles when they are lit. Never leave them burning without anyone present, as candles can easily ignite nearby objects or cause a fire if knocked over.
- Place candles on stable surfaces: Ensure your DIY emergency candles are placed on a sturdy, heat-resistant surface to prevent tipping or accidental fire spread. Avoid flammable or excessively cluttered areas and keep them away from curtains or other highly combustible materials.
- Keep away from children and pets: DIY emergency candles may appeal to curious little ones or pets. To prevent accidents, keep them out of reach of children and pets. Consider using candle holders or protective covers for added safety.
- Extinguish properly: When you’re ready to extinguish the DIY emergency candles, make sure it’s done correctly. Use a candle snuffer or carefully blow on the flame until it extinguishes completely. Avoid using water, as it can cause hot wax to splatter.
- Store candles safely: When not in use, keep your DIY emergency candles stored in a cool, dry place away from direct sunlight or extreme temperatures. This ensures their longevity and reduces the risk of accidental fires.
By following these precautions and safety measures, you can confidently enjoy the benefits of DIY emergency candles while prioritizing the well-being and safety of yourself and those around you.
Q&A
What materials do I need to make DIY emergency candles?
To make DIY emergency candles, you will need a heat-resistant container, candle wicks, candle wax (such as soy or beeswax), a double boiler or a microwave-safe bowl, essential oils for fragrance (optional), and a thermometer to measure the melting wax temperature.
How do I prepare the container for the DIY emergency candle?
Start by cleaning the container thoroughly and ensuring it is dry. Secure the base of the wick to the center of the container using a small amount of melted wax or a wick sticker to keep it in place while pouring the melted wax.
What’s the best way to melt candle wax for DIY emergency candles?
The safest way is to use a double boiler. Fill the bottom pot with water and place the wax in the top pot or a heat-resistant glass jar. Heat on low until it melts slowly and completely. Alternatively, you can use a microwave-safe bowl and melt the wax in short increments, stirring between each interval to prevent overheating.
Can I add fragrance to my DIY emergency candles?
Yes, you can enhance the scent of your candles by adding a few drops of essential oils to the melted wax. Stir gently to distribute the fragrance evenly throughout the wax before pouring it into the container.
How do I pour the melted wax into the container for my DIY emergency candle?
Carefully pour the melted wax into the prepared container, ensuring the wick stays centered. Leave a small amount of space at the top to prevent overflow. Allow the candle to cool and solidify completely before trimming the wick to approximately ¼ inch.
How long should I let my DIY emergency candles cool before using them?
It is recommended to let the candles cool and solidify for at least 24 hours. This ensures that they have completely set and will burn evenly when lit.
Are there any safety precautions I should keep in mind while making DIY emergency candles?
Always melt wax in a well-ventilated area and follow the manufacturer’s instructions on the packaging. Never leave a burning candle unattended, and keep them away from flammable objects, children, and pets.
Wrapping Up
In the flickering glow of your newly crafted DIY emergency candles, you’ve not only learned a valuable skill but discovered a beacon of self-sufficiency. As the world around us grows ever uncertain, it’s empowering to know that with a few simple ingredients and a spark of ingenuity, you can illuminate the darkness and find solace in the warm embrace of your homemade glowsticks.
Within these humble candles lies more than just a source of light – they symbolize resilience and preparedness, two qualities that carry us through the darkest nights. From repurposed items found within your home to the satisfaction of creating something both practical and beautiful, the process of crafting these candles is a testament to our resourcefulness and the innate human desire to thrive even in adversity.
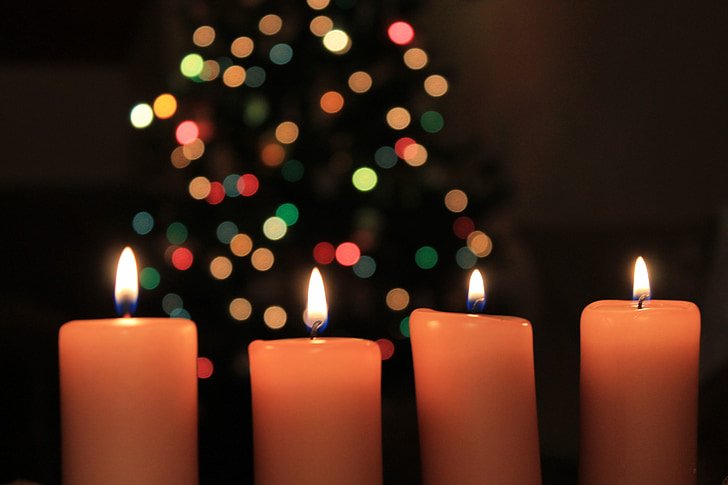
Remember, these enchanting DIY wonders are not just for emergencies. They become the living embodiment of ambient lighting during a cozy evening with loved ones, casting enchanting shadows that dance on the walls. They grace the humble camping trips with an aura of comfort, offering a guiding radiance through the wilderness. They even make for unique handmade gifts, showcasing the passion and effort that goes into your creation.
So, let your creativity take flight, dear readers. Experiment with different scents and colors, allowing your candles to awaken the senses and transport you to realms of tranquility and peace. Share this newfound skill with others, for knowledge is best when passed on, shining like a flame that never dies.
Always remember the importance of caution, as fire’s dance can also be destructive if we fail to respect its power. Take necessary safety precautions, and cherish the beauty while remaining vigilant.
With your newfound expertise, never again shall darkness reign unchallenged. You are armed with the knowledge to embrace the unknown, equipped with the ability to craft light from the simplest of materials. Unleash your inner artisan and ignite the world with your radiant creations.
Let the gentle glow of your DIY emergency candles guide you through the darkest of times. And in the end, may they serve as a reminder that no matter how ominous the night may appear, a humble flame has the power to kindle hope, illuminate spaces, and fuel our spirits with the unwavering determination to persevere.
As an affiliate, my content may feature links to products I personally use and recommend. By taking action, like subscribing or making a purchase, you’ll be supporting my work and fueling my taco cravings at the same time. Win-win, right?
Want to read more? Check out our Affiliate Disclosure page.